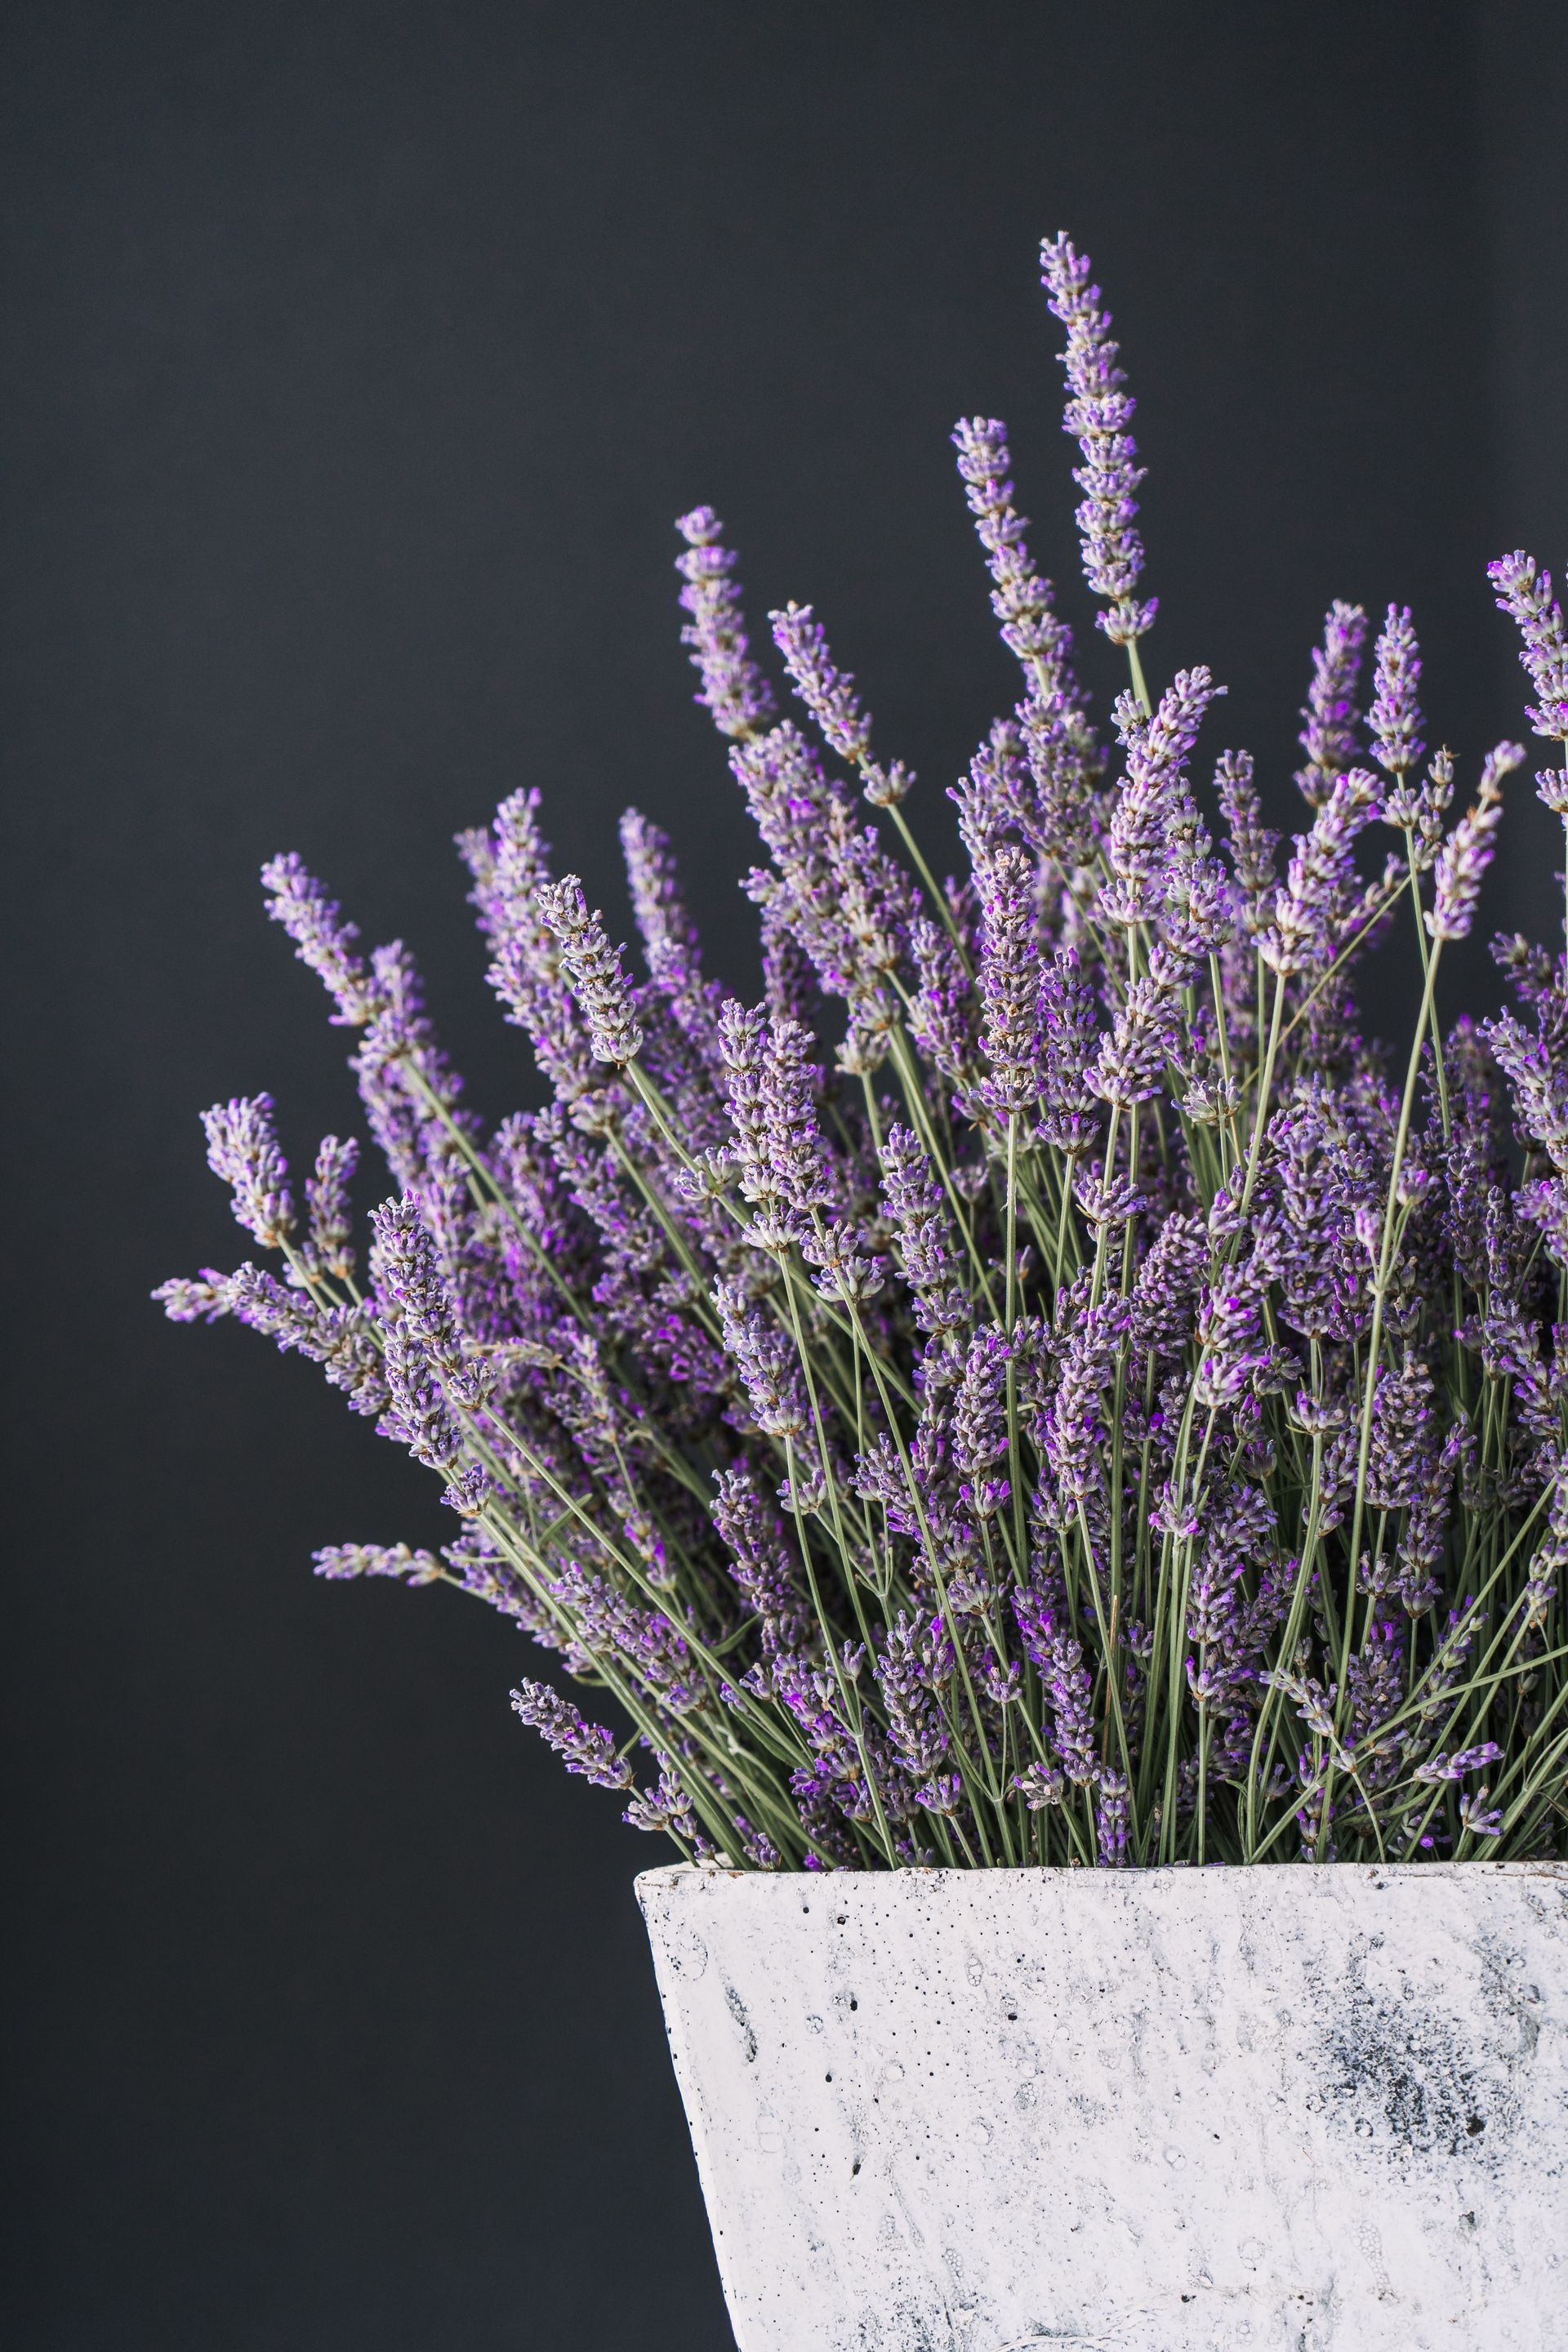
Creating Your Own Wildflower Garden At Home
Do you love wildflowers?

Nothing says Spring more than wildflowers! Wildflowers are happy, colorful blooms that will bring a smile to your face all day. If you want to know how you can make your own mini wildflower garden at home, then keep reading!
Wildflowers are incredibly low maintenance and don’t require much effort or hassle to get them started. Also, you can sow the seeds any time of year, though it is best to do this when there is more sunlight. Most wildflower gardens are grown outdoors, in large gardens or open spaces, but if you are living without a yard or in an apartment, then having an indoor garden is the way to go!
Here is a step by step guide to creating your own mini wildflower garden at home…
Find a rectangle wooden or metal planter that will fit in your desired location- preferably by a window for the best sunlight.
Choose your wildflower seed mix; this can get quite confusing, as there are many different types of seeds! Generally, wildflowers can thrive very well in less nutrient dense soil. However, some wildflowers really thrive in certain soils with varying pH levels, so before you purchase, speak to an experienced member of staff in the shop when buying your materials.
It is also good to choose wildflower seeds to grow flowers native to the area you live in; this can help regulate the biodiversity in the area while also improving it. Even if your wildflower garden will be inside, the pollen and seeds can and will travel through the windows in your home.
Pick your soil of choice and start preparing it in the planter. For best results, allow the soil to settle and cultivate for a few days, even a few weeks. You don’t need to add anything to the soil, avoid using a fertilizer as wildflowers overall do better in low nutrient conditions. Rake the soil with a small rake/trowel to create the seedbed where you will sow the seeds to germinate.
Once the soil is prepared and the planter is in position, scatter the seeds evenly throughout the soil, covering an even surface area. Once they are all scattered, check over the soil to make sure there are no gaps or areas that have more seed than others.
Following this, rake the soil again with your garden tool and again check for even distribution. This will give the seed the best chance, then follow up with water evenly through the planter. Make sure not to over do it initially, as the goal is to just keep the soil moist for the first 6 weeks at least by watering twice a week during this time. Depending on the weather in your area, watering frequency will vary. If you experience particularly hot summers, then watering the garden twice a week as a minimum will suffice.


